Showing posts with label Ever Bilena. Show all posts
I'm back again with a make-up tutorial. I just thought of this randomly. I supposed to make a tutorial of transforming your small eyes to bigger eyes using bright eye shadows but heck, I ended up playing with my dark eye shadows that it turned out dramatic. Lols!

Dramatic Bigger Eyes
I intentionally leave my other eye undone to see how big the difference it made.

To get us started, you just need a nude color and a very dark eye shadow.

Step #1. Prep your face.
I opted to apply my daily moisturizer (Myra-E with SPF 15). After the moisturizer is fully-absorb by the skin, I pumped a little amount of the BB Cream (Etude House in Refreshing) and I applied it onto face using my slanted foundation brush. I set my foundation with my favorite oil control powder (Palladium Rice Powder in Natural).

Step #2. Eyes - Base color
First, I apply my eye shadow base (NYX e/s base in Skintone) all over my lid and onto my lower lash line. Using my fluffy eye shadow brush, I applied a nude color (NYX single e/s in Highlight) all over my lid up to the brow bone.

Step #3. Eye lining
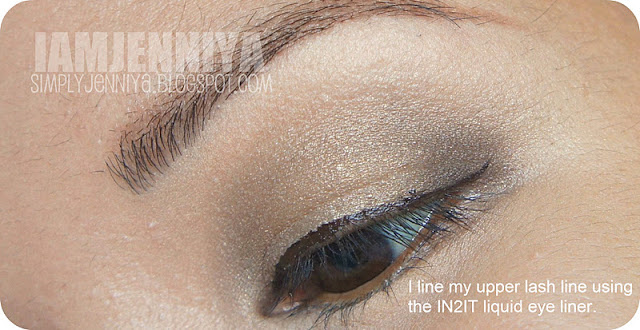
Using eye liner brush, I load a black matte eye shadow (Ever Bilena in Cleo) and lined my upper lash line. Starting a thick line from the outer going thinly inwards. I winged it a bit in the outer for a nice lift of the eyes.

Step #4. Crease
Using a bullet brush, I load it up with a dark brown eye shadow. I pointed the brush just below my brow bone or where your eye socket's higher depth, then I poked the brush in and I slowly glided the brush onto my eye socket moving inward and outward like a wiper. Take your eye blending brush and blend away the harsh edges. It will make a nice depth like you have a crease.

Step #5. Highlight
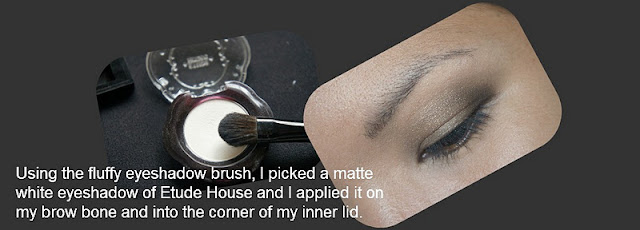
Using the fluffy eye shadow brush, I load it with white shimmering shadow (NYX  single e/s in White Pearl), and applied it in my middle eye lid, in the brow bone and in the inner corner of the eyes.

Step #6. Darken the shadow
(1) I load my bullet brush with black matte eye shadow (Ever Bilena in Cleo) and I darken my outer-V and the created crease earlier. Then, (2) using an eye liner brush, I also load it with the same black matte eye shadow starting thickly from the outer going inward up to inner 3rd only. 

Step #7. Finish the eyes
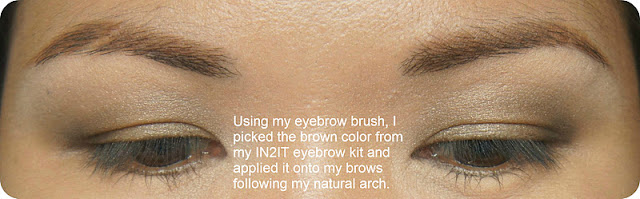
I lined my lower water line with a black eye pencil. I stroked a white eyeliner (ELF in white pearl) onto the inner corners of my eyes. For the eye brows, I used my IN2IT eye brow kit using my slanted eye brow brush.

Step #10. For the cheeks, I used my NYX Blush in Spice.
Step #11. For the lips, I used my NYX Megashine lip gloss in Beige.


This eye make-up is wearable in daytime, too. You just have to choose a not so dark shade like brown shade. I used black and darker brown in this tutorial to show the transformation of my bare eyes.

That's it. I hope you find my tutorial helpful. 


simply jenniya
Got questions? Comment below or click here.
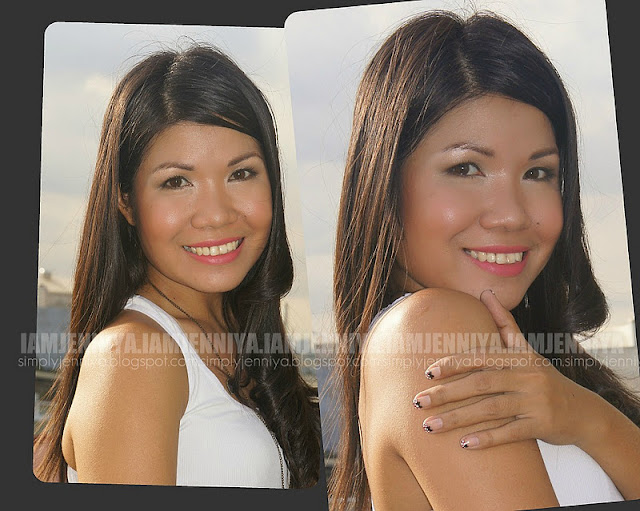


I posted the other day the ways on how I wore my basic white top and I came up with a simple make-up also to match with my outfit. Today, I am going to share with you the make-up tutorial on how I came up with this look. I actually just used two (2) color of eye shadows (a lighter shade and a dark shade) in this tutorial to justify the post title about a simple make-up.
A Simple Make-Up

Here are some products I've used in achieving this look. 

The step-by-step instructions:
Step #1. I skip with the moisturizer because I used my Etude House BB Cream in Refreshing. I squeezed out from the tube a small amount only and using my slanted foundation brush, I applied it evenly onto my face.

Step #2. I set my BB Cream by applying my IN2IT two-way foundation over it using my powder brush.

Step #3. Eyelids!
Apply the similar eye shadow color you have (it's like a mix of green & gray) using any small eye brush from the outer to the inner 3rds of your lower lash line.

Step #4. Crease!
Apply also any very dark brown eye shadow you have (provided it is matte) using a bullet brush from the outer to the inner 3rds of your lower lash line.

Step #5. Blend! Blend! Blend!

Step #6. Brow bone!

Step #7. Eye brows!

Step #8. Lash line!

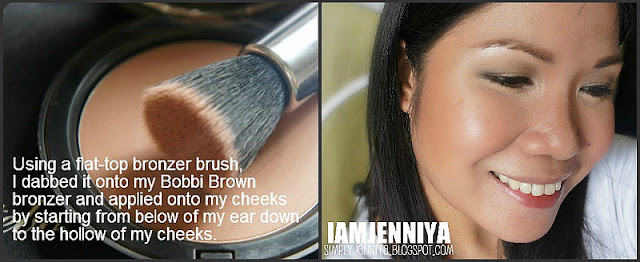
Step #9. Contour!
Then, bring it up by stroking at the sides of your face to create shadow that will give an illusion of slim face.. I also contoured my nose using a big eye shadow brush. Do not forget your jaw line also. To make it more natural, I stroke the remaining product in the brush lightly on my cheeks.

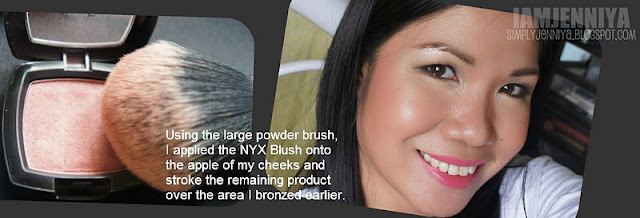
Step #10. Blush!

Step #11. I applied a very small amount of champagne eye shadow mixed with a Stila in Moonlight eye shadow onto the corner of my eyes to make my eyes pop more and to make my face look even brighter. 

Step #12. Curl your lashes and apply your favorite mascara. I used Maybelline Volum Express.

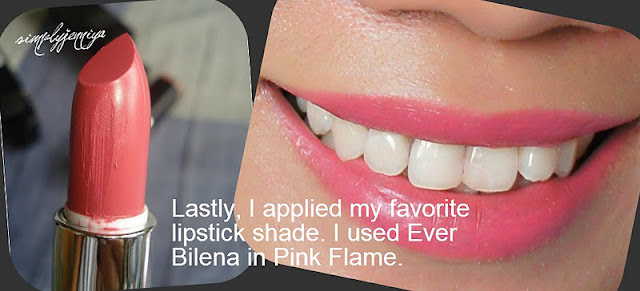
Step #13. Lips!

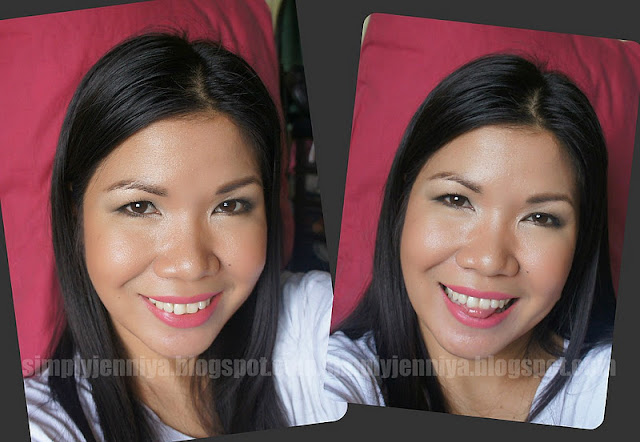
And you're done! Here are some bonus photos before I get my hair curled and get ready for the photo shoot with my hubby.

This make-up is perfect for an everyday wear to work. Skip the contouring and bronzing steps, I really find this make-up look just so quick and easy to do. Talk about NARCISSISM, I hope I didn't get you bored with all my faces. 

I hope you find my make-up tutorial helpful.

simply jenniya
Got questions? Comment below or click here.


Hi everyone!

Do you have a lipstick shade that never fail you? A shade that you would love until it runs out? A shade that you considered it makes you pretty? I do. 

But before I reveal that lipstick shade, let me show you my other favorite lipstick shade that I use alternately depending on the outfit I wear for a particular appointment.


I have a lipstick shade that I never take-out from my vanity bag ever since I purchased it. It is my to-go lipstick that I could wear whatever my outfit would be. This lipstick can tone down anything even when I am dressed-up or not.

My ever favorite everyday lipstick:
This is Ever Bilena Matte Lipstick in Pink Flame. 


I fell in love with this lipstick because I know it looks good on me especially in pictures. Yes, I'm being narcissistic. I feel beautiful with this lipstick. Call me conceited, I don't care. But is there never a time in your life you did feel beautiful even once? 

simply jenniya
Got questions? Comment below or click here.
Hi everyone!

Since last month, whenever I had the chance to pass by at any Watsons, I always checked repeatedly my favorite beauty counters looking for matte lipstick. I always failed to find any because some aren't that matte that I wanted and some are just too steep for me. So after the longest time of finding mattes, I finally gave in to try and bought 2 matte lipsticks from Ever Bilena. My last purchase from Ever Bilena was their matte jumbo pencil lipstick way back 10 years ago when I was working in Penshoppe. That matte texture back then is what I really wanted.

 
P145.00 each

Anyway, at first glance of their testers, the matte lipstick speaks itself; it really looked matte. Then, I swatch some. By the way, I never swatches lipstick onto my lips (hygiene it is!) but only on top of my hands. Moving on, when I glide it onto my hand, the color pay-off wasn't good; the color barely show. So, I had it glided with a lil bit of pressure then, finally it shows. Well, maybe the testers were mostly opened that's why the testers dried up. I've chosen 2 shades - Mauvey and Pink Flame.

 
L: Pink Flame; R: Mauvey

I hate SA's that do not know well the product they are selling especially with those in the cheap brands. I don't want to be so mean but that's the truth. I'm just being honest.

When I asked the SA to get me a new stock of Mauvey and Pink Flame, I asked her to open it for me and I got dismayed because the cap of the Mauvey that has a swatch of the lipstick wasn't been glued well and it was detached from the top of the cap. She told me she'll get a new stock. That was okay with me but to hear from her that the detached cap swatch can actually be used as lip gloss... What?!? Of course, I know it is not a lip gloss. I wanted to correct her but then again, I don't want to be mean to her especially that she has another customer in her area, so I ignored what she has said. I'm just irritated by her stupid selling techniques. I just get a new stock of it and off directly to the cashier.

When I got home, I discovered that the new stock she gave was also the same. It has defects. Both of them.
 
 
Both Pink Flame & Mauvey - chipped off silver coating..
 
Mauvey - the cap swatch was also the same (it wasn't glued). Oh c'mon, that is not a lip gloss but more like a soft rubberized thing.

 
Pink Flame - when I first tried to twist it upward..
 ...it was ruined! Oh no!

I was really saddened. All of us would like to have our purchases brand new and no defects, right? I love my lipsticks in their perfect shapes and untouched until I glide it onto my lips. But this batch of lipstick purchase is an exemption. I just get what I pay for. Another lesson learned.

Enough for that blah. I just want to warn you that the following photos below are kinda gross. Excuse me dear because during that time, I was in my 2 successive days of wearing my Maybelline Color Sensational lipstick and haven't I said so yet that my lips tends to exfoliate grossly whenever I used my Maybelline? So, just close this window if you can't stand to see it.

Ever Bilena Matte lipstick swatches:
 
Pink Flame
 
Mauvey (with cam flash)
 
Mauvey (without cam flash)

The verdict? 
  • I have a wrinkly lips so it sets in lines but not that obvious since it's matte.
  • It easily vanished when you eat and do not left even a bit of stain (except in your liplines) but it's not really a big deal for me. We always retouch anyway.
  • They are really matte finish. The photos didn't justify the matte-ness but in person, it is lovely! Just the way I wanted to. 
  • You have to swipe it more for your desired opacity.
Pink Flame is my favorite. I've been wearing Pink Flame everyday since last week. The Mauvey is perfect to match with dark smokey eye. Well, despite of all the defects I found, I am happy that I have mattes now. I just hope I can find like these in other brands.

Until my next post beauties!

Much love,


simply jenniya
Got questions? Comment below or click here.